 | 01 | Draw on base plate according to stone size. |
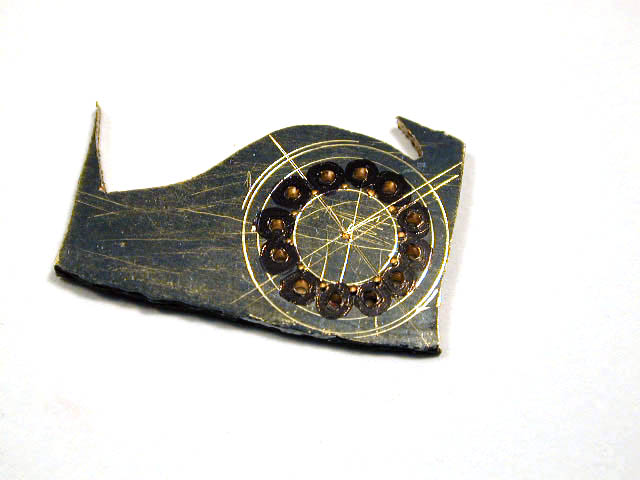
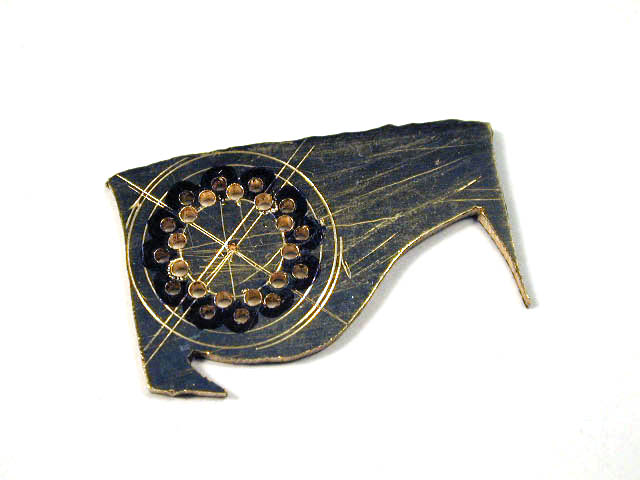
 | 02 | Punch, and then drill the holes (0.8mm) for the stones. |
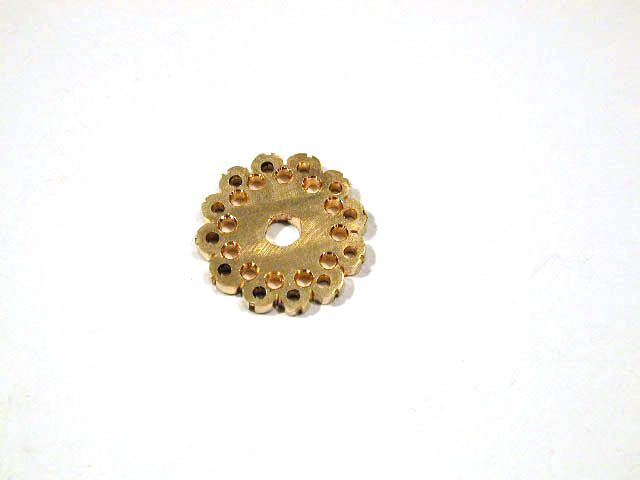
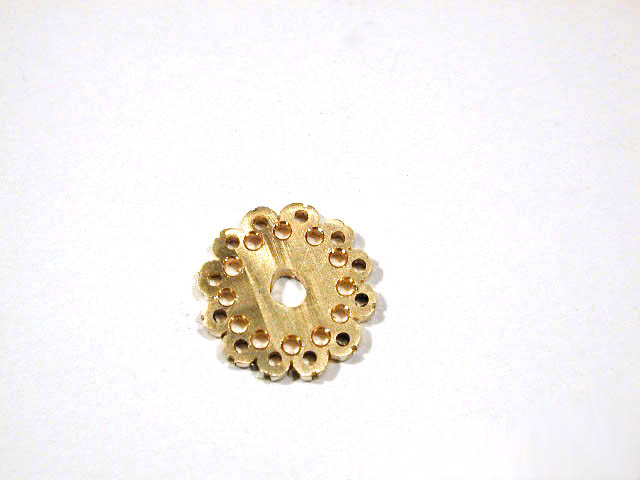
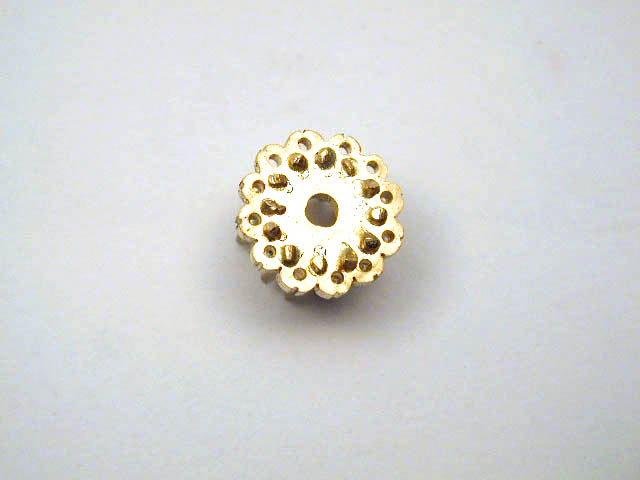
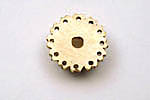
 | 03 | View from the back. |
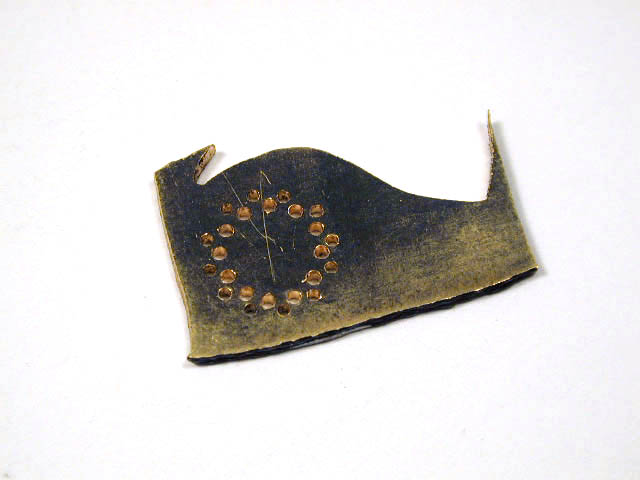
 | 04 | Punch, and then drill the holes (0.8mm) for the prongs. |
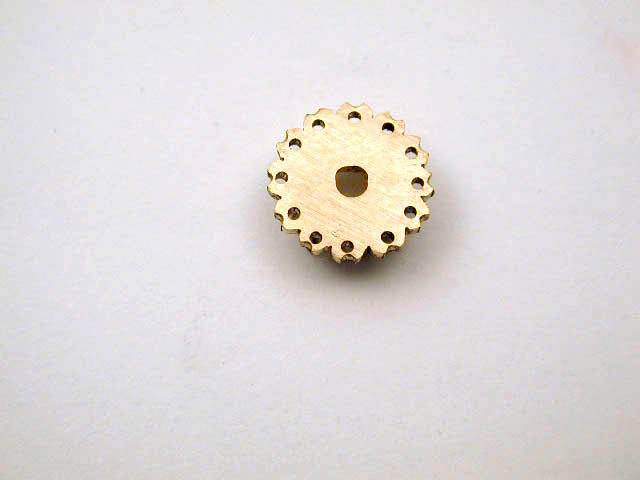
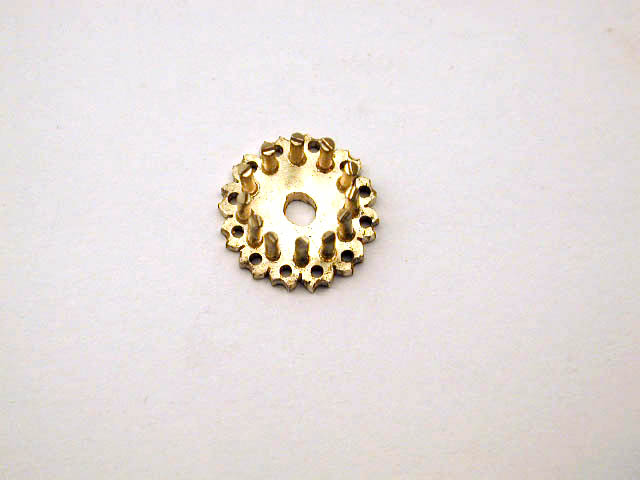
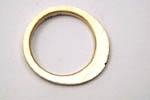
 | 05 | Cut out and file the outside. |
 | 06 | |
 | 07 | File the contour for the stones and the outside prongs. |
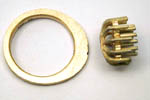
 | 08 | Clean front and back with sanding paper. |
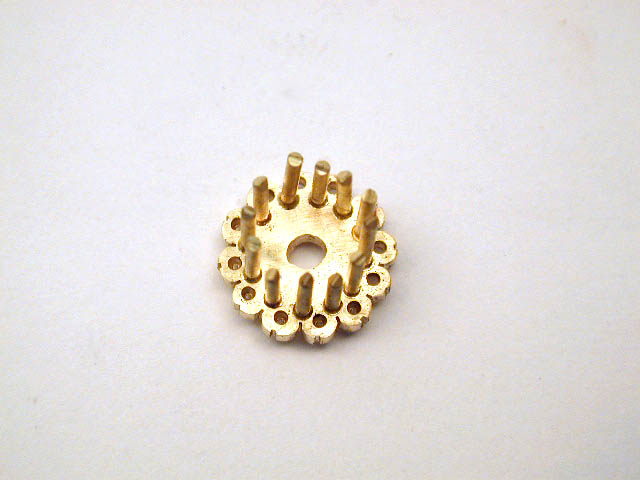
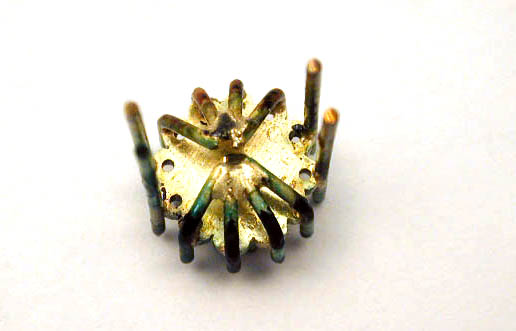
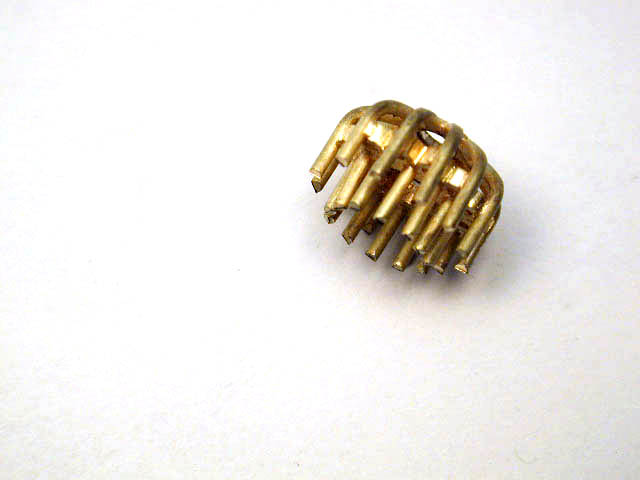
 | 09 | Stick in the prongs for the center stone. |
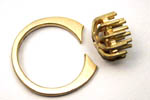
 | 10 | Make sure the prongs are straight, |
 | 11 | and solder from the backside. |
 | 12 | File and clean the backside. |
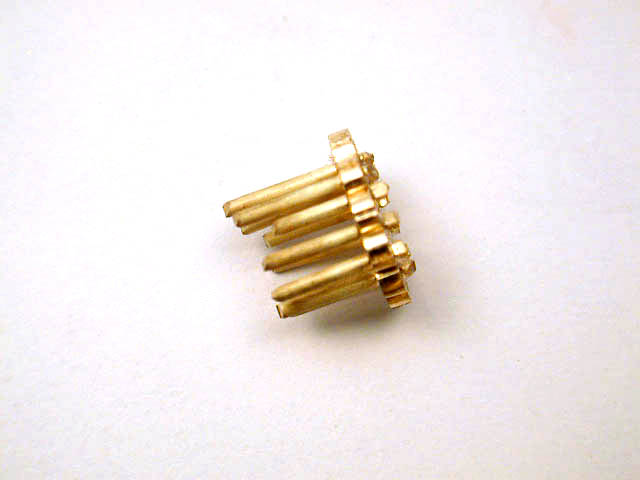
 | 13 | Cut the prongs to the same length. |
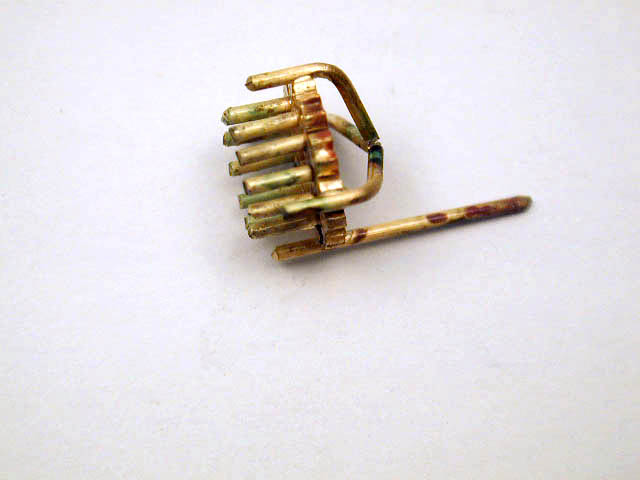
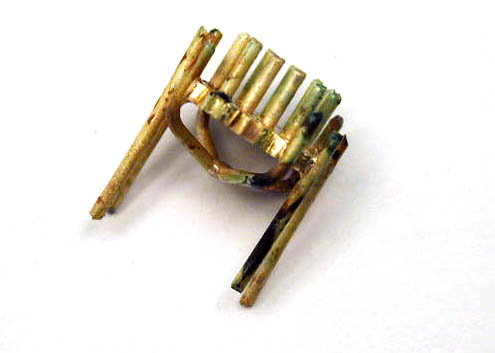
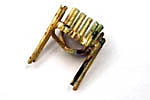
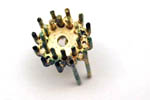
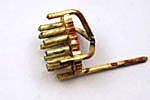 | 14 | Start soldering the outside prongs. |
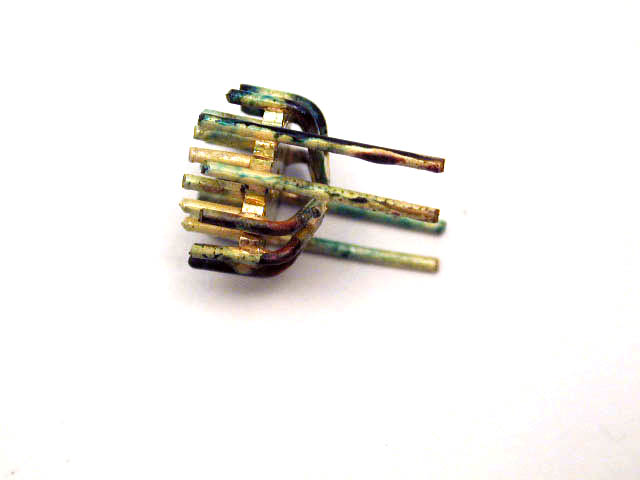
 | 15 | Always four opposite prongs and bend them to a center point at the back. |
 | 16 | Solder at the center point. |
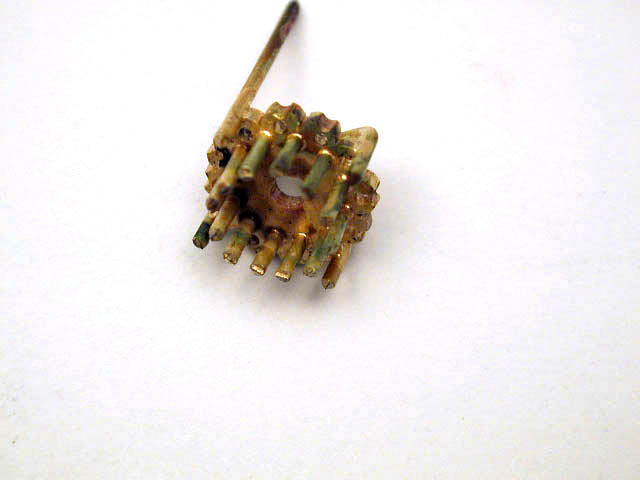
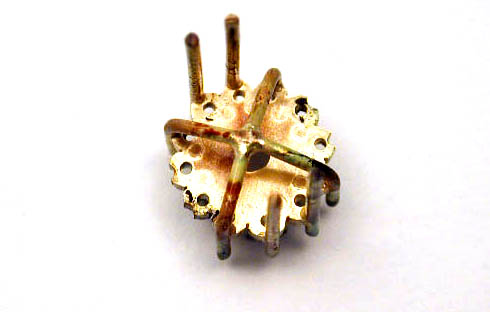
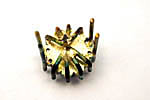
 | 17 | Add four prongs. |
 | 18 | Always make sure the prongs are soldered straight. |
 | 19 | Bend to center point and solder. |
 | 20 | |
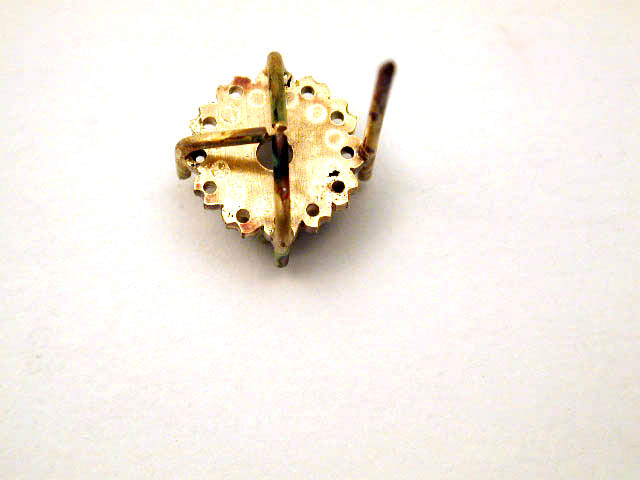
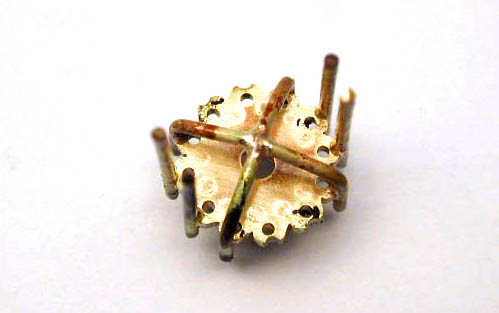
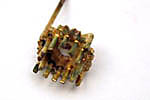
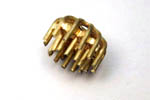
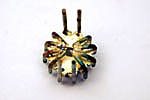 | 21 | Add more prongs, bend to center point and solder. |
 | 22 | |
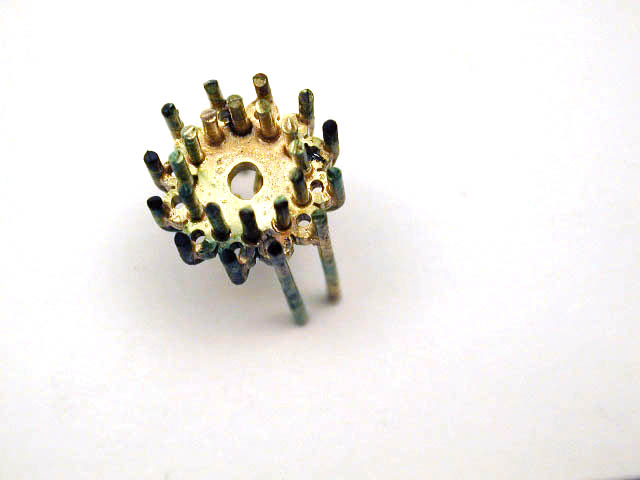
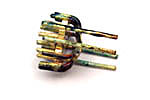
 | 23 | Clean in pickling solution. |
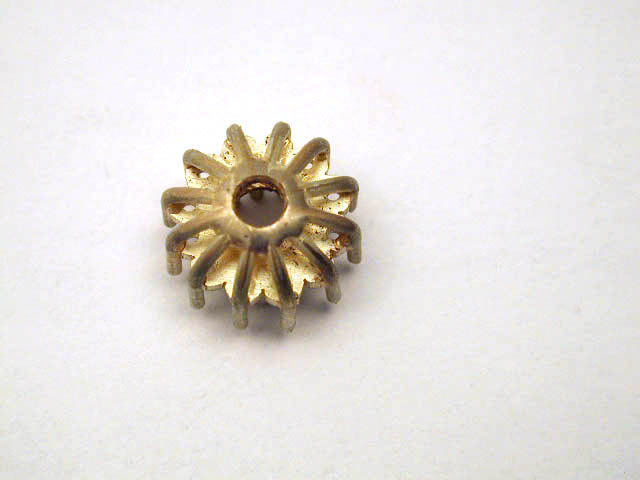
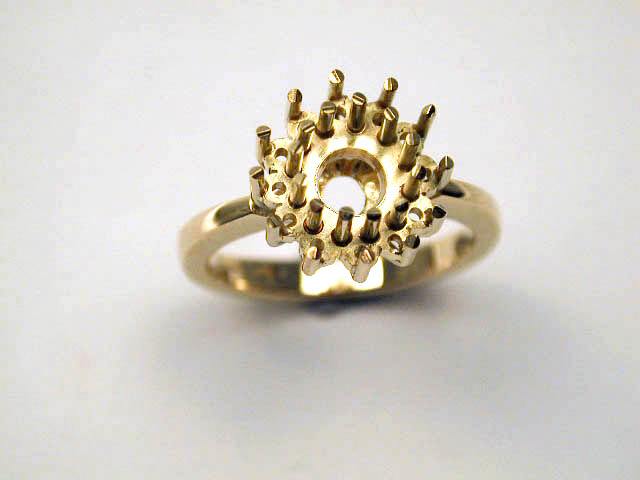
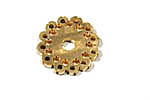
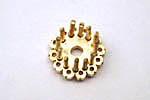
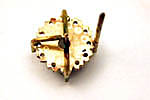
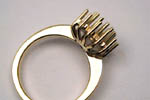
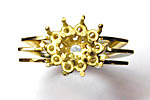
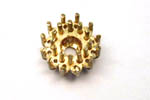 | 24 | Front view. |
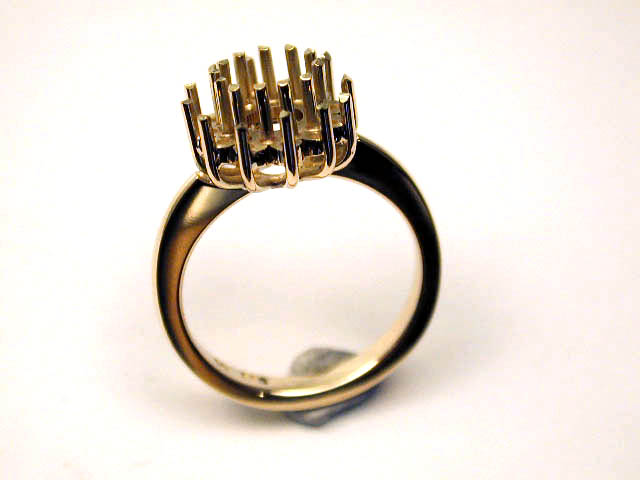
 | 25 | Side view. |
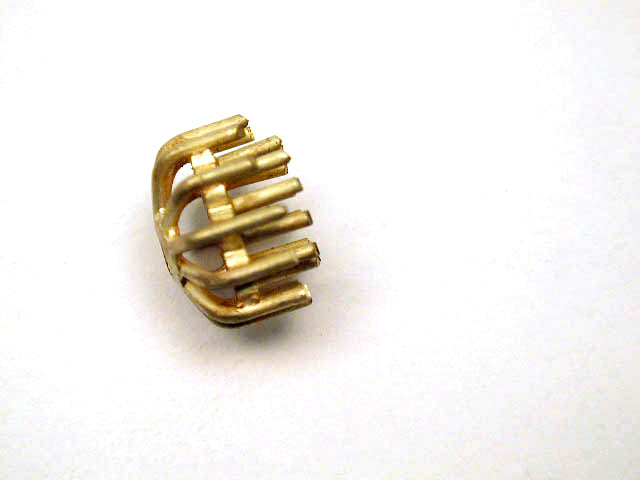
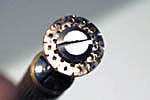
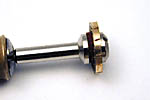
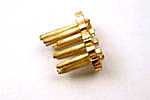
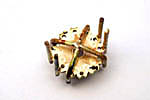
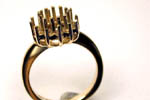
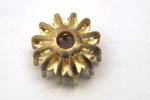 | 26 | Back, drill center hole. |
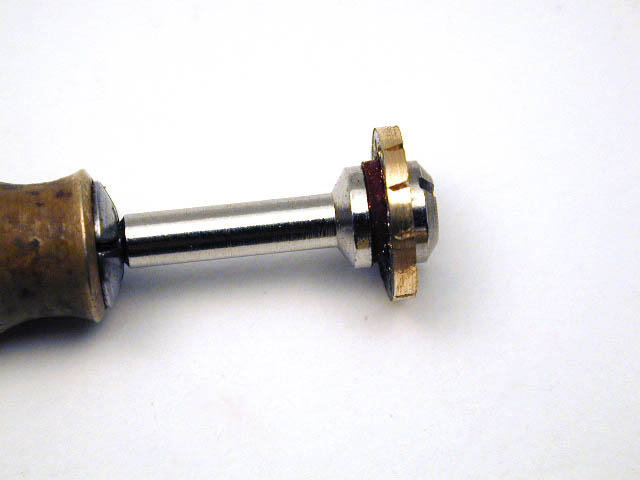
 | 27 | Final side view. |
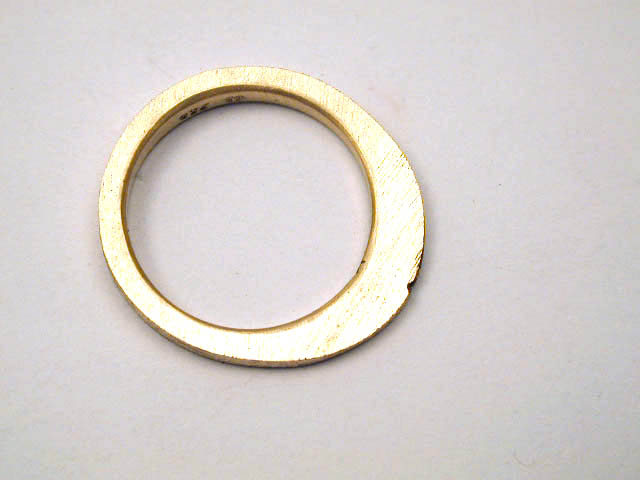
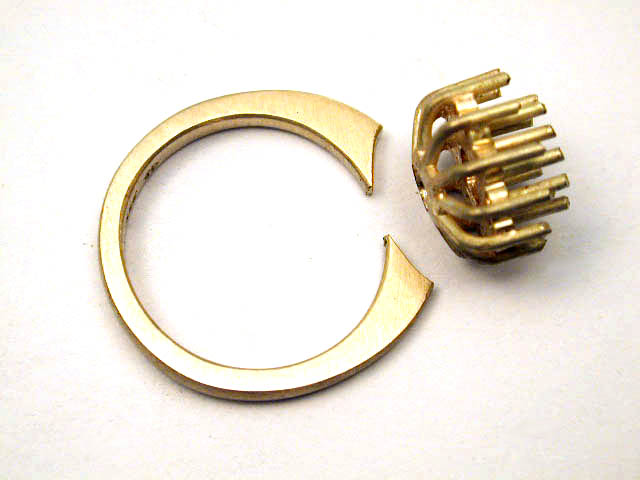
 | 28 | Bend the square wire to a circle, solder and flatten at the side where you soldered. |
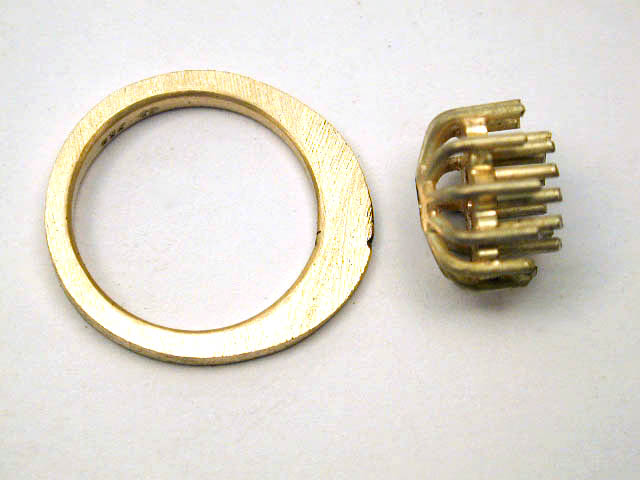
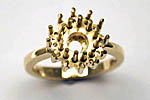
 | 29 | Check proportions and ring size. |
 | 30 | Cut out space for the ring head and make final adjustment for the ring size. |
 | 31 | Solder from the backside. |
 | 32 | Clean in pickling solution, polish and clean. |
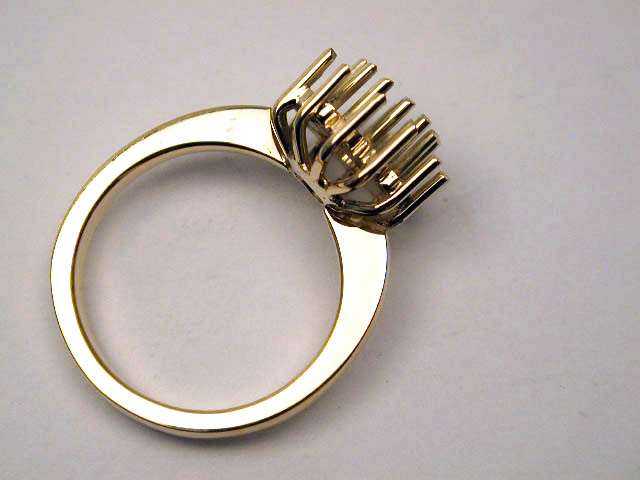
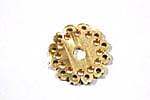
 | 33 | Side view. |
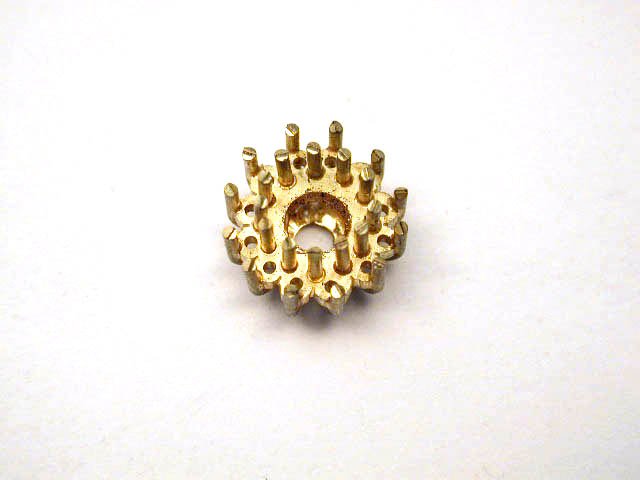
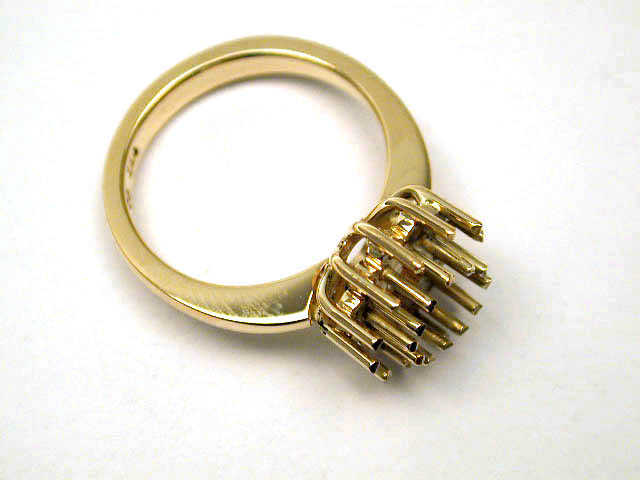
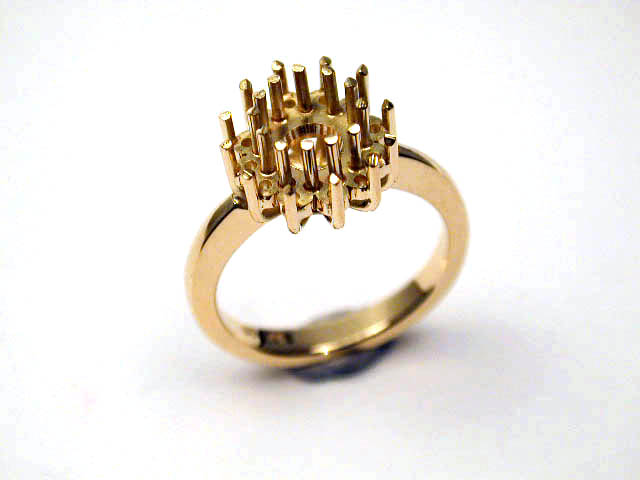
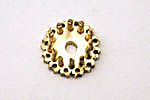
 | 34 | Front view. |
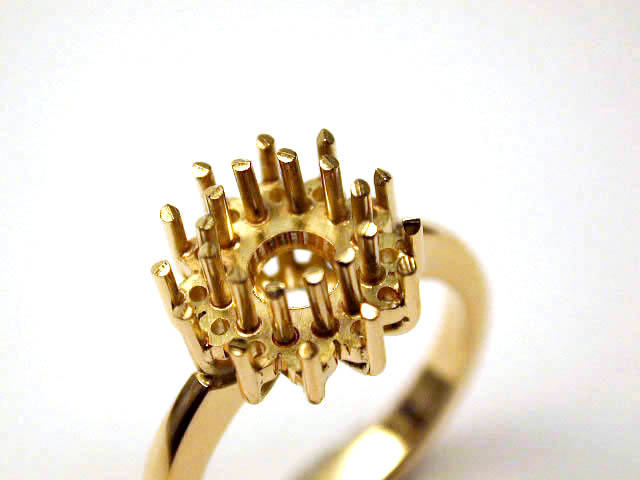
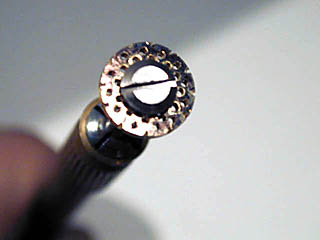
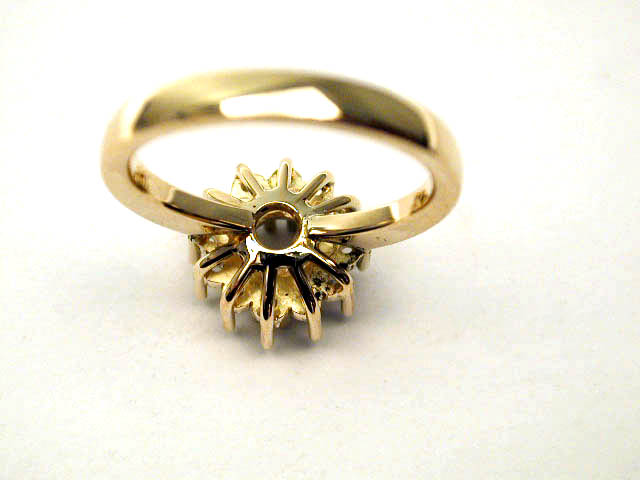
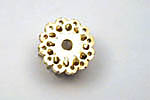
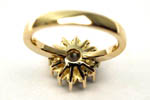
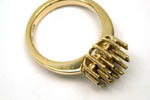
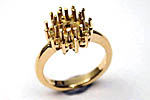
 | 35 | Final presentation before setting. |
 | 36 | |
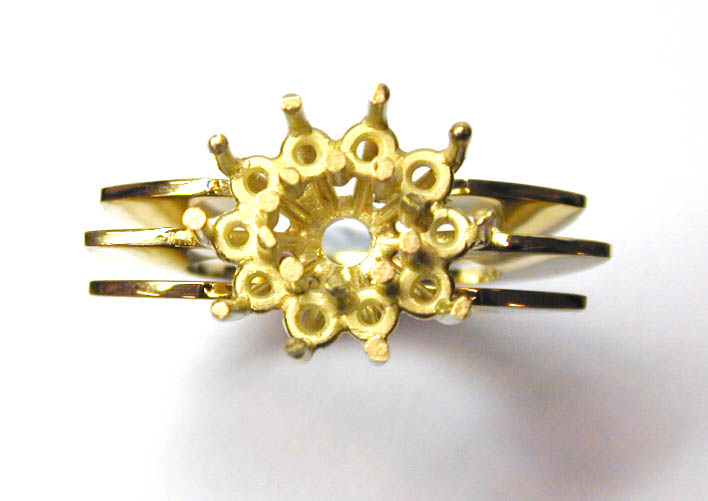
 | 38 | A slightly different entourage ring. |
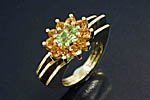 | 39 | A slightly different entourage ring. |